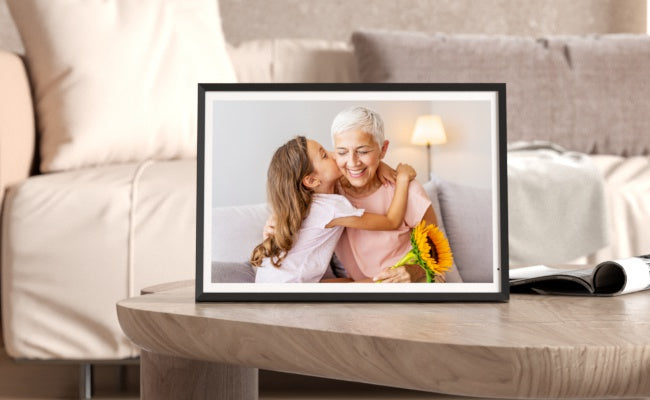
How to Turn Your TV into a Beautiful Digital Photo Frame
Imagine walking into your living room and seeing your favorite memories beautifully displayed on your TV, rotating through travel snapshots, family moments, or your best photography shots. You can transform your TV into a personalized digital photo frame, giving new life to a screen that often sits idle. Here’s a clear, step-by-step guide to turning your TV into a DIY digital picture frame, even if you’re not a tech expert.
Why Use Your TV as a Digital Photo Frame?
Most modern TVs are large, vibrant, and already take up prime space in your living area. Using them to display your photos adds warmth to your home, makes the most of your screen time, and can even encourage conversations when guests visit. It’s also a smart way to reduce screen clutter while keeping your favorite memories in view.
What You Need to Get Started
-
A Smart TV (or a regular TV with a streaming device like Roku, Chromecast, or Fire Stick)
-
A USB drive or cloud storage account (Google Photos, Apple Photos, Amazon Photos)
-
A stable Wi-Fi connection (for cloud-based options)
Step-by-Step Guide to Turning Your TV into a Digital Picture Frame
1. Choose Your Photo Source
Using a USB Drive:
-
Select your favorite high-resolution photos and save them on a USB drive.
-
Insert the USB into your TV’s USB port.
-
Use your TV’s built-in photo viewing app or slideshow mode to display your images.
Using Cloud-Based Services:
-
Upload your photos to Google Photos, Amazon Photos, or Apple Photos.
-
If using a Chromecast, you can set your Ambient Mode to display selected albums.
-
On Amazon Fire TV, the Amazon Photos app can display your photos as a screensaver.
-
Many Smart TVs have their own photo slideshow apps compatible with cloud storage.
2. Adjust Display Settings
-
Set slideshow timing (e.g., 5-15 seconds per photo).
-
Choose transition effects that match your aesthetic.
-
Adjust brightness to blend naturally with your room lighting.
3. Create a Dedicated Photo Frame Mode
Some TVs, like Samsung Frame or LG models, have an “Art Mode” that allows the TV to mimic a framed photo when idle. If your TV doesn’t have this feature, you can:
-
Use a dedicated slideshow app (like Frameo or Fotoo) on your streaming device.
-
Set your screensaver to automatically launch after a period of inactivity.
4. Frame Your TV (Optional DIY Enhancement)
To give your TV a true “digital frame” look:
-
Add a minimalist wooden or metal frame around your TV.
-
Use matte backgrounds to reduce reflections.
-
Position the TV at eye level, as you would a gallery photo display.
Tips for a Seamless Experience
-
Organize Albums: Group photos by theme (family, travel, art) to curate what you want displayed.
-
Rotate Photos Seasonally: Update albums with seasonal photos to keep your display fresh.
-
Mind File Sizes: Large, high-resolution images work best but keep sizes reasonable to ensure smooth transitions.
-
Consider Vertical Orientation: Some TVs can rotate, allowing you to display portrait photos elegantly.
Benefits Beyond Aesthetics
Using your TV as a DIY digital photo frame helps you revisit cherished memories without additional devices cluttering your space. It creates a comforting and personalized environment while adding an artistic element to your home. You can also use your TV for ambient photography showcases during gatherings, displaying your photography portfolio, or simply enjoying a calming slideshow during downtime.
Final Thoughts
Turning your TV into a digital photo frame is a satisfying DIY project that’s easy to set up and maintain. It’s an effective way to make the most of your technology, celebrate your memories, and add warmth to your home, transforming an ordinary screen into a rotating gallery you’ll actually enjoy.


